
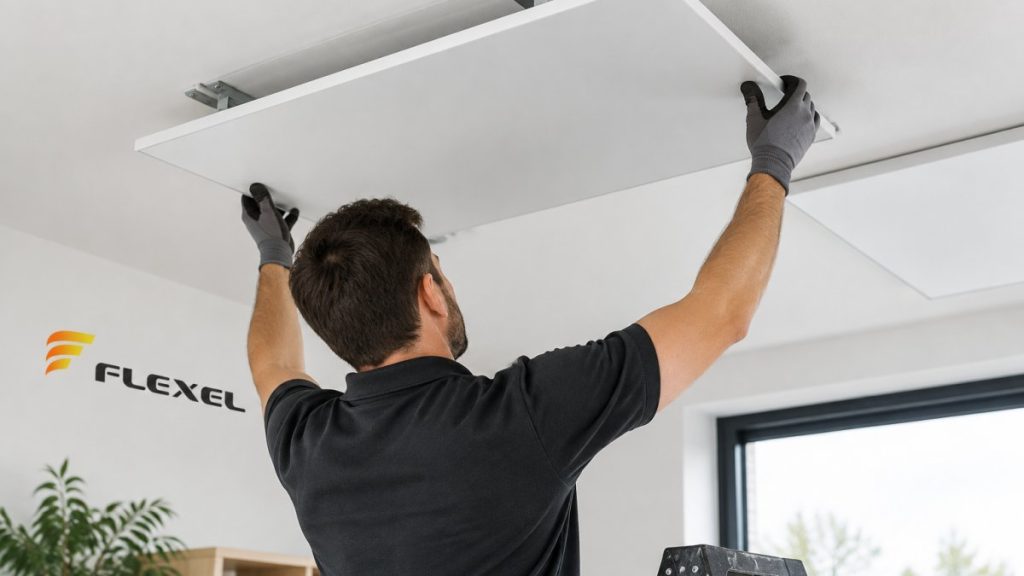
Last Updated: 12 November 2026
Quick Summary
To install an infrared panel on a ceiling safely, first identify the ceiling type and locate the joists, then fix the bracket into timber or a structural point using fixings rated for the panel’s weight. Connecting the heater to fixed wiring should be left to a qualified electrician.
- Identify your ceiling type first: plasterboard on joists, lath and plaster, solid concrete or a suspended grid.
- Fix into timber joists using wood screws biting at least 35-40mm into the joist.
- Never rely on plasterboard between joists alone to carry the panel’s weight.
- Switch off the power at the consumer unit before any drilling or marking begins.
- Do not run the heater until the electrical connection has been checked and tested.
Table of Contents
- Why Ceiling-Mounted Infrared Panels Work Well
- Checking Your Ceiling Structure and Load Capacity Before You Start
- Infrared Panel Positioning: Room Layout, Heat Coverage and Clearances
- Infrared Panel Ceiling Mounting Kit: Brackets, Fixings and Tools
- Infrared Panel Installation Guide: Marking, Drilling and Fixing the Panel
- Infrared Heater Electrical Installation and Safety Checks
- Testing and Commissioning Your Ceiling Panel, and Booking Your Next Step With Flexel
- Frequently Asked Questions
Why Ceiling-Mounted Infrared Panels Work Well
Installing infrared panels on a ceiling is one of the most practical ways to add radiant warmth to a room. Infrared panels warm people and surfaces directly rather than heating the whole volume of air, which suits rooms that are used for periods rather than all day. Flexel has manufactured far infrared heating elements at its UK factory in Glenrothes since 1978, and that experience shapes the advice below.
Ceiling mounting keeps the floor clear, frees up wall space and puts the heat above the people it is meant to warm. Comparing heaters by wattage alone misses key factors such as heat direction, room use, heat loss and where people spend their time. Read on to see how to plan, mount and test a ceiling panel safely.
To discuss your next project, Contact Us to get the conversation started.
Checking Your Ceiling Structure and Load Capacity Before You Start
Before you drill anything, confirm what the ceiling is made of and what it can hold. A panel fixed to plasterboard alone may not be secure, so you need to locate the ceiling joists or a suitable structural member, and choose fixings that match both the ceiling and the panel weight.
Identify the ceiling type first
Work through these checks in order, because each ceiling type needs a different fixing approach:
- Plasterboard on timber joists, the most common modern ceiling. Tap along the ceiling: a hollow, drum-like sound between fixings usually means plasterboard, while a duller, solid note often marks a joist. A stud finder set to deep-scan mode will confirm joist lines, and you can verify by drilling a small pilot hole.
- Lath and plaster, common in older properties. It feels harder and more brittle than plasterboard, and a magnet will often find the lath nails in regular lines. Lath and plaster grips screws poorly, so fixings should reach the joists rather than rely on the plaster alone.
- Solid concrete or beam-and-block, a hard, cold surface with no hollow sound. You will need masonry plugs or resin anchors rated for the panel weight, and a masonry drill bit.
- Suspended or MF grid ceilings, the grid carries the tiles, not the panel. Do not hang a heater from the grid alone; fix back to the structural soffit above.
Find the joists and confirm centres
Joists are often set at regular centres, though older properties vary, so measure your own ceiling rather than assuming a standard spacing. Use a stud finder to trace two or three joist lines, then measure the spacing. Mark the joist centres with pencil lines so the bracket holes can be aligned later. If the stud finder gives inconsistent readings, drill small pilot holes at low risk points and confirm timber behind the plaster.
Match the fixing to the load
A ceiling panel’s weight is carried by the fixings, so the fixing method must suit both the substrate and the panel. As a working guide:
- Into timber joists: wood screws long enough to bite at least 35-40mm into the joist.
- Into plasterboard between joists: only use plasterboard fixings rated for the panel weight, and only where the manufacturer’s instructions permit it.
- Into masonry: expansion plugs or resin anchors sized to the hole and the load.
- Into lath and plaster: fix through to the joists wherever possible.
Watch out: fixing into plasterboard between joists and assuming it will hold is the most common cause of a sagging or dropped panel. Always check the manufacturer’s recommended fixings for your ceiling type, and if the ceiling looks weak, damp or cracked, ask a qualified person to assess it before any drilling begins.
If you are unsure, request a free quotation so the ceiling can be reviewed before installation.
Infrared Panel Positioning: Room Layout, Heat Coverage and Clearances
Good positioning decides how comfortable the room feels. Place the panel so its radiant output reaches where people sit, stand or work, rather than only the centre of the ceiling.
- Keep the panel’s front face clear of large furniture, curtains and shelving
- Maintain the clearances stated in the installation instructions from walls and occupants
- Aim the heat towards seating areas, desks or work benches
- Consider ceiling height, because higher ceilings reduce the heat reaching the floor
Radiant heaters still need correct sizing for the room. Two smaller panels placed well can outperform one large panel placed poorly, so plan the layout on paper before you fix anything. Our infrared heating panels range lists sizes and specifications to help you compare options.
Infrared Panel Ceiling Mounting Kit: Brackets, Fixings and Tools
Most ceiling installations need a mounting kit that suits both the panel and the ceiling. Use the brackets and fixings supplied or specified for your model, rather than substituting general-purpose hardware.
- Mounting brackets matched to the panel model
- Screws and expansion plugs rated for your ceiling material
- A drill with the correct masonry or wood bit
- A spirit level, tape measure and pencil
- A stud finder for locating joists
Check the minimum mounting height and clearances stated for your chosen panel before you buy the kit. Choosing the right kit from the start prevents slipped fixings and wasted time later.
Infrared Panel Installation Guide: Marking, Drilling and Fixing the Panel
Work through the installation in a clear order. Mark first, drill second, fix third.
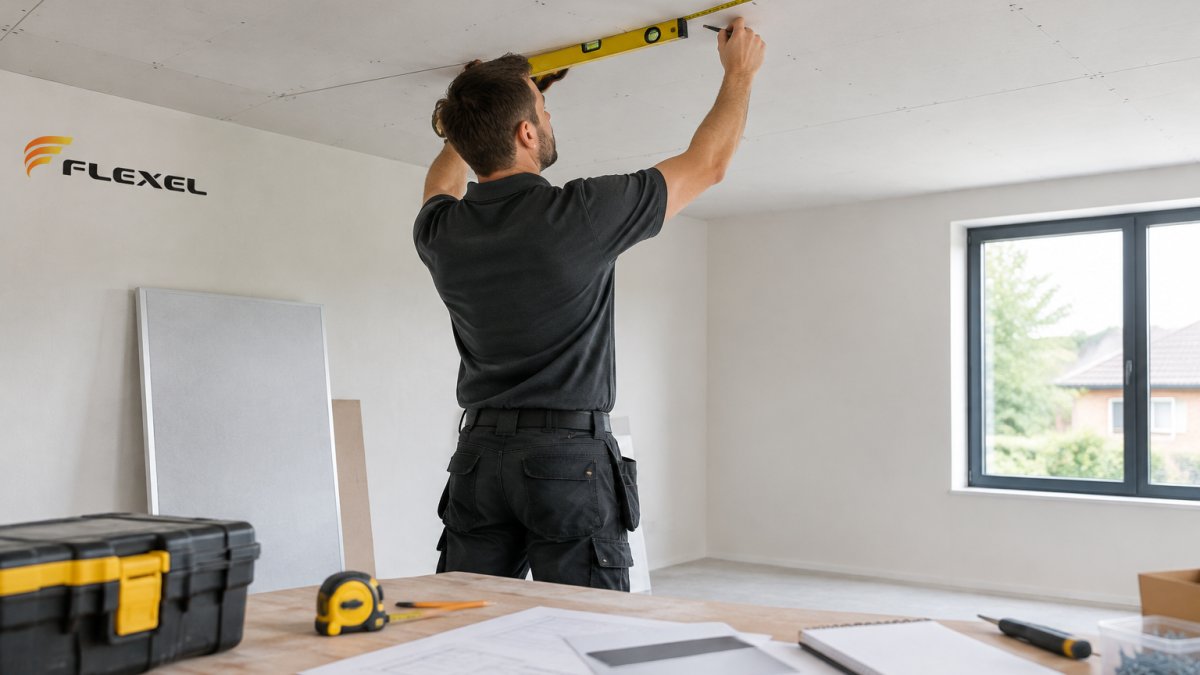
- Switch off the power supply at the consumer unit before any work starts.
- Hold the bracket against the ceiling in the planned position and mark the fixing points with a pencil.
- Confirm the marks sit over the joists or the specified structural point.
- Drill pilot holes to the depth and diameter given in the instructions.
- Insert the plugs or fixings, then attach the bracket and check it is level.
- Lift the panel onto the bracket and secure it according to the instructions.
For a closer look at the ceiling product and its fixing points, see the Flexel EcoSun C+ far infrared ceiling panels guide. Working slowly at the marking stage saves rework later.
The installation follows a clear order, and the marking stage matters most, so the steps below summarise what to do at each point.
Step | What to do | Note |
|---|---|---|
1 | Switch off the power at the consumer unit | Before any work starts |
2 | Hold the bracket in position and mark fixing points | Use a pencil |
3 | Confirm marks sit over joists or structural point | Check before drilling |
4 | Drill pilot holes | Use the depth and diameter in the instructions |
5 | Insert plugs or fixings, attach bracket, check level | Confirm the bracket is level |
6 | Lift panel onto bracket and secure | Follow the instructions |
Infrared Heater Electrical Installation and Safety Checks
Electrical work is where safety matters most, and in the UK the boundary between what a competent DIYer may do and what must be handled by a qualified electrician is clearer than many guides suggest.
Where the DIY boundary sits
Mounting the panel, drilling, fixing brackets and routing the cable within the room are generally tasks a competent DIYer can undertake. Connecting the heater to the fixed wiring, adding a fused spur, altering a circuit, or making a new connection at the consumer unit, is fixed electrical work. Notifiable electrical work in dwellings is subject to Building Regulations requirements, and notification rules vary across the UK, so check the official guidance that applies where you live.
A practical rule: if the work involves opening the consumer unit, adding a new circuit, or making a permanent connection that did not exist before, use a qualified electrician. If it involves hanging the panel on a bracket and plugging a pre-wired unit into an existing circuit as the manufacturer intends, a competent DIYer can usually proceed.
What the electrician will check
- Circuit capacity, whether the existing circuit can carry the heater’s rating alongside everything else on it.
- Fused spur, the correct fuse rating for the panel, fitted as the instructions specify.
- RCD protection, whether the circuit is protected by a residual current device, as required for many domestic circuits.
- Earthing and bonding, that the earth path is sound and any supplementary bonding in bathrooms is correct.
- IP rating, that the panel’s ingress protection suits the room, especially in bathrooms and other damp areas.
- Testing and certification, insulation resistance, polarity and earth continuity checks, with a certificate or minor works notification as appropriate.
Before first use
Keep the power cable clear of drilling and fixing points, and do not run the heater until the electrical connection has been checked and tested. Running an untested connection can damage the element and create a fire risk. Record the circuit, fuse rating and test results so future maintenance and any later alterations are straightforward.
Flexel has manufactured its ink-based EcoCloth elements and EcoFilm element at its UK factory in Glenrothes since 1978. Always check product information against flexel.co.uk for accuracy before specifying fixings or connections.
Testing and Commissioning Your Ceiling Panel, and Booking Your Next Step With Flexel
Once the panel is fixed and connected, switch it on at a low setting and check it runs evenly. Confirm the thermostat or controls respond as expected, and check the panel for any unusual smells or noise during the first hour.
Record the fixing positions, clearances and control settings so future maintenance is simple. If the heat does not reach where you need it, reposition the heater or review the layout rather than adding more panels straight away.
If you want a layout checked before you install, Flexel’s infrared heating design services can help plan a suitable system for your rooms. You can also request your free heating quotation to move from planning to installation.
To discuss your next project, Contact Us to get the conversation started.
Flexel: Heating people first since 1978
Frequently Asked Questions
Can infrared panels be installed on a ceiling?
Yes, many infrared panels are designed for ceiling mounting, but the panel must be suitable for overhead use and fixed according to the manufacturer’s instructions. Check the panel’s weight, the mounting kit supplied and the minimum mounting height before you start. Ceiling structure matters as much as the panel itself, so confirm that the ceiling can carry the load and that the fixings will grip properly. Flexel can advise on suitable products and mounting options for your room.
What fixings are needed to install an infrared panel on a ceiling?
The fixings depend on the ceiling construction and the mounting kit supplied with the panel. Plasterboard ceilings usually need fixings rated for the panel’s weight that anchor into a ceiling joist, rather than relying on plasterboard alone. Follow the manufacturer’s recommendations for screw size, plug type and fixing points. If you cannot locate a joist at the required position, get advice before drilling, as an incorrect fixing can cause the panel to fail.
Can you install an infrared panel yourself, or do you need an electrician?
Mechanical mounting can be carried out by a competent person following the instructions, but the electrical connection should be made by a qualified electrician. Fixed wiring and circuit protection should comply with the applicable UK wiring standards. Using a qualified electrician also helps ensure the circuit can supply the panel’s rated power safely. Once connected, the installation should be tested and inspected before regular use.
How far should an infrared panel be from the floor?
The correct height depends on the panel model, its output and the room use, and the manufacturer’s stated minimum mounting height should always be followed. Mounting too low can cause discomfort and may breach clearance requirements, while mounting too high can reduce the heat felt at floor level. Check the installation instructions for the recommended distance from the floor and from walls and furniture. Flexel can help you confirm the right position for your room.